How to Use Wix’s CRM and Automations to Capture and Nurture Leads: A Practical Guide for Service-Based Businesses
- cantydigitalcreative
- Aug 7
- 5 min read
For service providers—whether you’re offering consulting, coaching, healthcare, design, or any other professional service—managing leads isn’t optional. It’s essential. Every missed message or delayed follow-up can mean lost revenue.
That’s where Wix steps in. With its built-in CRM and automation tools, you can streamline lead capture, automate responses, and nurture relationships—all directly from your website.In this practical guide, you’ll learn how to set up and use Wix’s CRM and automations to build a lead management system that saves time, boosts conversions, and enhances the client experience from the first click.
Step 1: Set Up High-Converting Forms on Your Website

Your CRM starts with the form. This entry point, positioned as a lightbox on a service page or placed after a lead magnet, is where potential clients first raise their hand and express interest in your services.
Wix Forms are simple to integrate and can be customised easily. With their flexible service models, you make it easy for your target customers to book consultations, get newsletter subscriptions, or gather project details.
Here’s how to get started:
1. Add a Form to your site
Open the Wix Editor.
Navigate to “Add” → “Contact & Forms.”
Pick a form layout that fits your page design.
Customise fields (keep it simple and relevant).
2. Label and organise
Click the form → “Form Settings.”
Under “Submit Message,” you can display a thank-you message or redirect to a custom page.
Turn on the toggle to automatically add new contacts to your CRM.
3. Label and organise
Assign a label to your form submissions (e.g., “Free Discovery Call Lead”) to make future Wix form automations easier.
You can also add tags for segmenting contacts later.
Step 2: Build Automations That Respond Instantly and Maintain Engagement

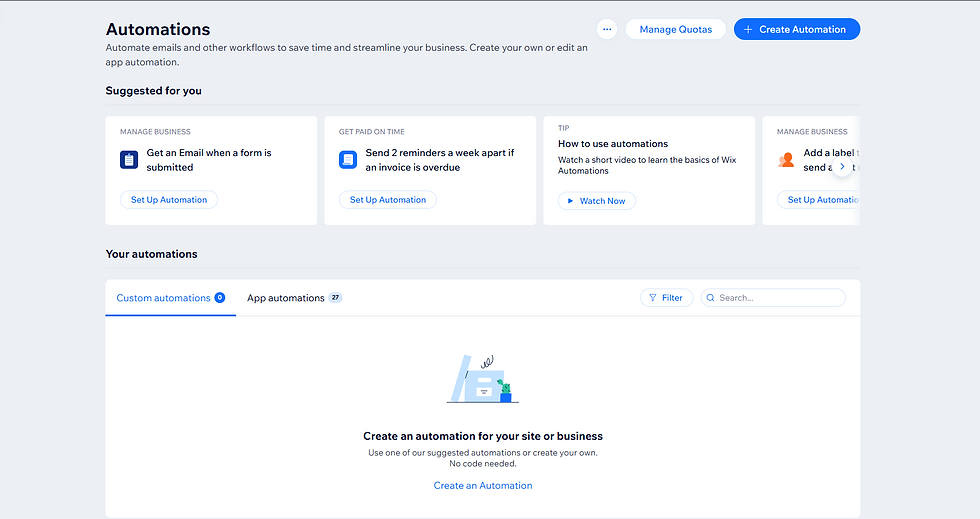
Now that your form captures leads into your CRM, it’s time to create automations— workflows that respond to your visitors’ actions. These are made using predefined triggers and corresponding actions. You can access automations via your Wix site’s dashboard under Customer Management > Automations.
While they can be simple, they should always feel intentional. Follow these steps to build your first one:
1. Choose a trigger
This is the action that kicks off the automation. Start with “Form submitted.”
Then select the specific form this automation is linked to.
2. Add an action
Decide what happens next. The most common initial action is “Send an email.”
You can also add a team notification in case someone from your team needs to take further action manually.
3. Customise your email
Write a thoughtful confirmation message. Include relevant next steps and set expectations for response time.
A sample structure:
Hi [First Name], thanks for reaching out! I’ll review your message and get back to you within 24 hours. In the meantime, feel free to check out [link to your services or blog].
4. Introduce a brief delay
A delay of one to two minutes prevents the reply from appearing automated.
5. Save, label, and activate
Give your automation a clear, descriptive name (like “Consultation Form Auto-Reply”) so it’s easy to recognise and manage later. Once you’re set, go ahead and activate it.
Step 3: Keep Your CRM Clean and Actually Useful
Capturing a lead is just step one. Managing that lead—remembering what they wanted, where they came from, and what step comes next—is where the real work lives. Wix’s CRM tools help you keep everything organised, and more importantly, keep every contact feeling like a person, not a spreadsheet cell. Wix’s contact management interface offers a range of features to track and sort lead data, particularly handy for service-based businesses managing enquiries at various stages.
Here are several practical ways to stay organised:
Use meaningful tags and labels.
Use tags like “Hot Lead,” “Discovery Call Scheduled,” or “Needs Follow-Up.”
Tags can also reflect service type (“Branding,” “Web Design”) or even lead source (“Instagram,” “Referral”).
Group tags based on interest, referral source, or stage in the decision-making process for smarter segmentation. You’ll thank yourself later when you want to run targeted emails.
Add notes to individual contact records.
Document insights from conversations, preferences, deadlines, or budget details.
Notes like “Wants to launch in October” or “Prefers email over phone” help you build continuity and follow up with context in future interactions.
Assign follow-up tasks.
Create reminders for yourself or team members right from the contact card, so important leads don’t go cold.
For example: “Send proposal by Thursday,” “Check in next week if no reply.”
Use filters to group and manage segments efficiently.
When it’s time to launch a campaign, you can pull up only those contacts who booked a call, downloaded a freebie, or showed interest in a particular offer.
Step 4: Create a Short Follow-Up Email Sequence
Leads rarely hire you the same day they reach out. They might need time to explore, build trust, or secure a budget. That’s why a short, automated email sequence can be so effective—it sustains engagement through that process without you needing to check in constantly.
The Wix Email Marketing tool lets you build automated sequences and schedule them in advance. You can link these to a specific trigger (like submitting a contact form) or apply them manually to selected contact groups.
Here is a recommended three-email structure for guiding new leads:
Email 1 (Sent Immediately): Confirmation and Next Steps
Thank them for reaching out.
Let them know what they can expect next.
Optionally include a link to a helpful resource (blog post, FAQs, service overview).
Email 2 (After 2–3 days): Showcase Expertise
Share a relevant client success story, testimonial or case study.
Position your services as proven and results-driven.
Email 3 (After 5–7 days): Invitation to Engage
Invite them to schedule a call, book a consultation, or check out your services.
Keep the tone friendly and low-pressure.
Step 5: Review and Refine as You Go
Even a well-set, automated Wix email system needs periodic check-ins. Wix’s platform offers detailed analytics for both automations and email campaigns, making it easier to spot what’s performing well and where adjustments might be needed.
Some areas to keep an eye on:
1. Email open and click-through rates
Low open rates may indicate that subject lines need improvement.
Low clicks might suggest that content or calls to action are unclear.
2. Form conversion data
Track which pages offer results in more submissions.
A/B testing simple variations can lead to noticeable gains.
3. Lead engagement over time
Are leads booking calls, replying to emails, or disengaging entirely?
Use this insight to modify your follow-up timing or messaging.
A system that performs well today may require adjustments next quarter. Keep refining.
Simple Tweaks That Make a Big Impact

Once the core system is in place, consider implementing a few advanced features that can further improve engagement and conversions. These aren’t required at launch but are easy to integrate once your foundation is stable.
Use these few ideas that can create a smoother, more intentional user experience:
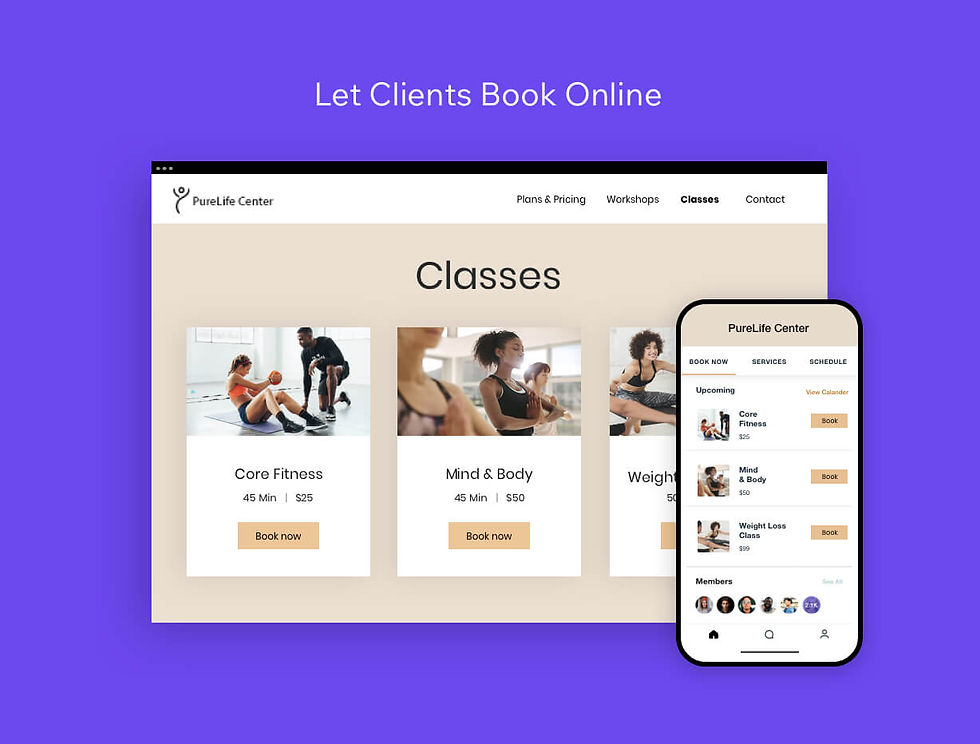
Use Wix Bookings to allow direct scheduling from confirmation emails.
Use a Lightbox pop-up offering a free resource before someone exits a service page.
Add live chat automations using Wix Inbox to handle FAQs or intro messages.
Display testimonials or client logos near your forms to increase trust.
Use different forms for different services to route leads to tailored automation flows.
Final Thoughts
You don’t need a massive team to give leads a professional, responsive experience—you just need a system that works. With Wix’s CRM and automations, you can build a system that handles follow-up, tracks interest, and keeps your contacts organised—all without leaving your website. Once the system is in place, it works continuously behind the scenes to support your business growth.
By following the steps in this guide, you’ve laid the foundation for a streamlined, professional lead management process that saves time and builds trust at every touchpoint. And remember, small improvements—like a well-timed email or a clearly labelled contact tag—can make a big difference in conversions.
Ready to take the next step?
If you’d like expert help setting up your Wix CRM, automations, or email flows, we’re here to support you. Reach out today and let’s build a lead system that works for you, consistently and automatically.
.png)


Comments